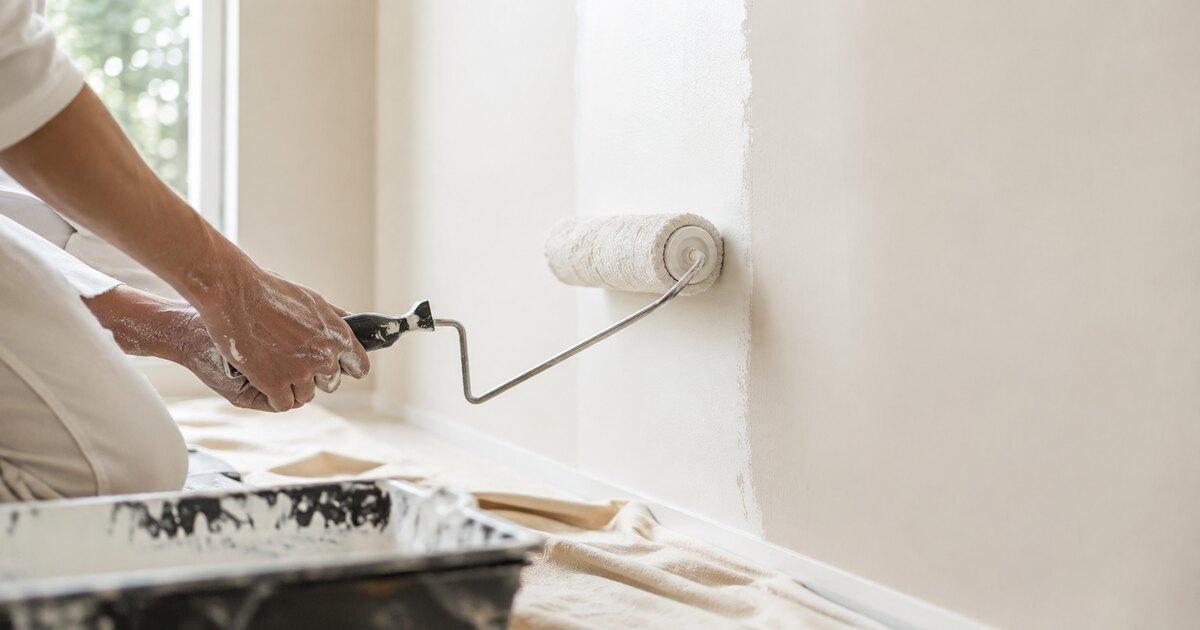
Painting looks like the most approachable home job there is, and in some ways it is — roller technique takes about twenty minutes to learn. What separates amateur work from professional work is almost never the hand holding the roller. It's everything that happens before paint touches the wall.
This guide follows the actual order of the work.
Step 1: Diagnose the wall before buying anything
Before choosing a color, look at the wall up close under raking light — a lamp aimed almost parallel to the surface. You'll see flaws that are invisible head-on.
Look for:
- Fine cracks, usually in the finish coat and easy to fill
- Wide or diagonal cracks, which may be structural and deserve a different conversation
- Blistering or peeling, a sign of moisture or a badly bonded previous coat
- Yellow or mold stains, which will bleed back through new paint if untreated
Painting over active moisture is throwing money away. The stain comes back, and it comes back worse.
Step 2: Calculate the real quantity
The basic math: measure the room's perimeter, multiply by the height, subtract doors and windows. That gives you square meters.
A gallon covers roughly 30 to 40 square meters per coat, depending on how absorbent the surface is. And here's the classic mistake: you almost always need two coats. Budget for two.
One tip that saves grief: buy all the paint for a color at once and from the same batch. Two cans of the same color code mixed on different dates can differ by a shade — invisible in the store, obvious on your wall.
Step 3: Prep, which is where the work actually is
This step takes longer than painting. That's normal and correct.
- Clear or group furniture in the center and cover it with plastic
- Protect the floor with canvas drop cloths, not newspaper — paint soaks straight through
- Remove faceplates from outlets and switches instead of taping around them
- Wash the walls with water and mild detergent, especially in kitchens and near doors
- Fill cracks and holes with filler, let it dry, sand
- Lightly sand the whole surface with 220 grit for adhesion
- Remove dust with a barely damp cloth and let it dry
On masking tape: press the edge down firmly, and pull it off when the paint is dry to the touch but not fully cured. Wait days and you'll tear the paint film off along with the tape.
Step 4: Primer when it's called for
Not always necessary, but yes in four cases: bare new walls, going from a dark color to a light one, very porous or heavily patched surfaces, and stains that bleed. For the first three a standard primer is fine. For water or nicotine stains you need a dedicated stain-blocking primer.
Step 5: Technique
The order is always top to bottom: ceiling, then walls, then trim and baseboards last.
Cut in first. With a brush, lay a band about five centimeters wide into corners, along the ceiling line and around frames. Do it section by section and roll while that band is still wet — that way the edges melt together and you don't see a brush-textured frame around the room.
Then roll. Work in sections roughly one meter square, using W or N strokes, then finish with straight vertical passes top to bottom to even it out. Load the roller without soaking it and without wringing it dry.
Keep a wet edge. Never let a section dry halfway before joining it to the next one. That's where lap marks come from.
Respect the drying time between coats. Whatever the can says, usually two to four hours. Recoating early drags the first coat.
Choosing a sheen
- Matte: hides imperfections, ideal for ceilings and bedrooms, but marks when cleaned
- Satin: the balance for most rooms, handles gentle cleaning
- Semi-gloss: kitchens, bathrooms, trim and doors — very washable, and it highlights every flaw
When it's worth hiring out
Do it yourself if it's a standard room with walls in decent shape. Hire a Helpper if there are high ceilings or stairwells, moisture to treat, textured or stucco finishes, dramatic color changes over large areas, or if you simply need the house livable fast.
Conclusion
A good paint job isn't noticeable. You just see a wall that looks right. That result comes from diagnosis, prep and patience between coats far more than from skill with a roller.
Prefer to have someone experienced handle it? Post your project on HelpyHub and get proposals from verified painters with clear pricing and timelines.